Quick Facts
Abundant, colourful flowers all summer
1
Most are tender, a few are hardy
2
Grow indoors or outside
3
Need careful watering and winter protection
4
Plant in late spring
5
Like a warm, sunny spot in well-drained soil
6


Before you get started
What are gerberas?
These are perennial plants with bold daisy flowers in a wide choice of colours, often rich and vibrant. The abundant blooms stand on sturdy stems above low clumps of leaves.
Gerberas create a colourful, exotic summer display in containers and borders, and the blooms make long-lasting cut flowers too.
Most gerberas are tender, so are often grown as houseplants or temporary summer bedding.
In recent years, some hardy gerberas have been developed. These can be grown outdoors all year round in mild, sheltered, well-drained locations.
How and what to buy
Gerberas can be bought as small or as larger, more in containers.
- Plug plants are available in late winter and spring, usually from mail order suppliers. These small, young plants need to be potted up and looked after indoors for up to several months, until large and robust enough to be planted outside.
- Larger, containerised plants can be bought in spring and summer from garden centres and online. These are often sold in full flower, for an instant display. They are more expensive than plug plants, but are ready to be planted straight into the garden.
- Gerberas are also widely sold as flowering houseplants all year round.
Most gerberas are tender, but there are a few hardy types that can be grown permanently outdoors:
- Look for the 'Everlast Series' and 'Garvinea Series' – these are available in a range of flower colours.
- They need a warm, sheltered, sunny spot, well-drained soil and frost protection in winter.
Planting
Where to plant
Gerberas can be grown indoors or outside. With their bright, cheery colours, they work well in many styles of garden, including:
- tropical borders
- summer bedding
- container displays, including patio pots and windowboxes
- small gardens
- sheltered urban or courtyard gardens
- cut-flower borders
Plant them en masse for greatest impact, either using single colours or a mix of different hues. They also work well with various partners, including small ornamental grasses and other foliage plants, bedding plants in complementary or contrasting colours, and other tropical-looking blooms, such as dahlias.
Most gerberas reach 30–60cm (1–2ft) tall, so are best positioned at the front of borders and containers. Space them about 30cm (1ft) apart.
Planting indoors
- Grow in containers on a bright windowsill or in a conservatory or heated greenhouse. They like good light, but direct summer sun can scorch them.
- Provide well-ventilated conditions, warm but not hot. Keep them between 10–20°C (50–68°F) to encourage flowering.
- Most will stop flowering below 10°C (50°F) or above 20°C (68°F), but will restart once temperatures are back within their preferred range.
- Tender gerberas must always be kept above 5°C (41°F).
Planting outdoors – tender gerberas
- Tender gerberas can be grown temporarily outdoors, usually from mid-spring to mid-autumn, depending on your local conditions.
- Plant outside in spring, once night temperatures are reliably above 5°C (41°F).
- Take them indoors in autumn, before night temperatures fall below 5°C (41°F).
- Give them a warm, sheltered, sunny spot.
- Plant in borders or containers, in fertile, well-drained soil or that doesn’t get .
Planting outdoors – hardy gerberas
- Even hardy gerberas (such as 'Everlast Series' and 'Garvinea Series') need a warm, sheltered, sunny spot, and protection from winter cold and damp.
- Ideally move them to a frost-free spot, such as a greenhouse, coldframe or porch, from mid-autumn to mid-spring, depending on your local conditions.
- In mild locations, you may risk leaving them outdoors over winter, but protect with a cloche or thick mulch. Wrap containers with fleece or reused bubblewrap to insulate the roots.
- In borders, plant in fertile, well-drained soil that doesn’t get waterlogged.
- In containers, use free-draining peat-free compost. Never stand containers in trays of water for long spells, as gerberas are susceptible to rotting.
When to plant
- Plant outdoors in spring, once night temperatures are reliably above 5°C (41°F).
- Acclimatise plants to outdoor conditions by hardening off gradually.
How to plant
In containers
- Gerberas are deep rooted, especially the larger, vigorous cultivars, so plant in deep containers.
- Use rich, gritty, free-draining compost, such as peat-free multi-purpose compost or John Innes No 2, with extra grit to improve drainage.
- Position the crown (the point from which the leaves sprout) slightly above the surface, to ensure it stays dry and doesn’t rot.
See our guide to planting in containers.
In borders
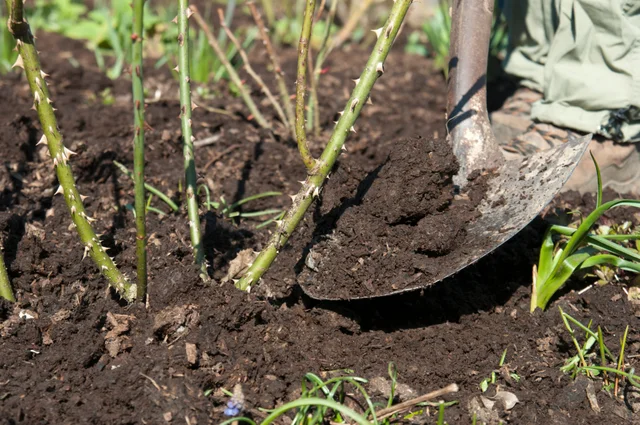
- Gerberas need fertile, well-drained soil, so with a thick layer of organic matter, such as garden compost or leafmould, after planting. This is particularly important if you have heavy soil.
- Set the crown (the point from which the leaves sprout) slightly above the soil surface, so soil doesn’t wash into the crown and increase the risk of rotting.
- Space plants at least 30cm (1ft) apart. Overcrowding can encourage fungal diseases such as grey mould.
For full details, see our perennials planting guide.
Ongoing Care
Watering
- In summer, when plants are in vigorous growth, water as needed. Gerberas like moist but well-drained conditions.
- Take care not to wet the crown or foliage when watering.
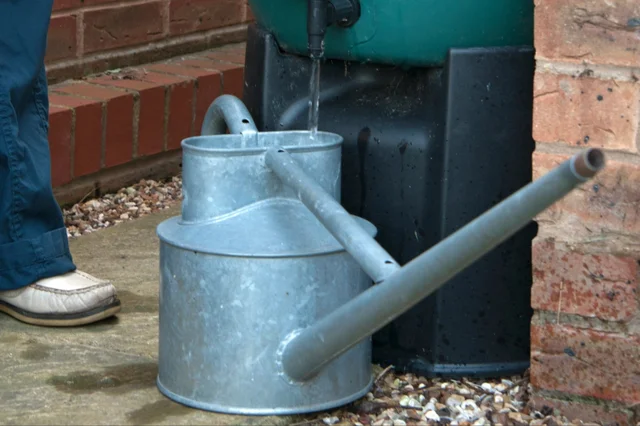
- In containers, let the dry out a little between waterings. Ideally water from below, standing the container in a tray of water until the compost is damp. Don't leave them standing in water for long periods.
- In winter, keep the compost on the dry side, particularly in an unheated location.
- Overwatering can lead to the crown or roots rotting.
Feeding
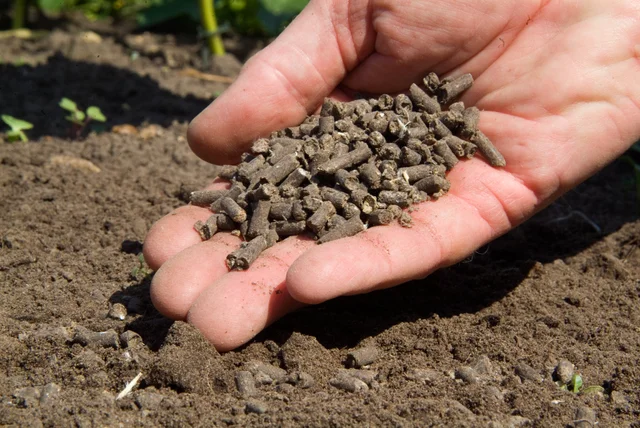
- To encourage strong growth in spring and summer, feed plants in containers with a general-purpose liquid feed, following the dose rate and frequency recommended on the packet.
- To boost flowering, you can feed plants in containers with a high-potassium feed, such as tomato fertiliser, in summer, following the dose rate and frequency recommended on the packet.
Mulching
- After planting in the ground, apply a generous mulch of garden compost around the base of the plants. This will help to improve the soil structure and drainage, and deter weed .
- Take care to avoid covering the crown of the plant, as this can lead to rotting.
- With hardy gerberas in borders, add over the root zone every autumn, to help insulate the roots over winter.
Deadheading
- Remove fading flowers regularly, to keep the display looking its best and encourage plants to send up new flower stems.
- Snip off the whole stem, down at the base.
See our guide to deadheading.
Get more flowers
Regular deadheading ensures plants put all their energy into making flowers rather than seeds.
Overwintering
Tender gerberas
Most gerberas are tender and won't survive below 5°C (41°F). So bring them indoors in autumn and keep them in a conservatory or heated greenhouse, or on an indoor windowsill.
Wait until night temperatures are consistently above 5°C (41°F) before moving them back out in spring. Take care to acclimatise them to outdoor conditions – see our guide to hardening off.
Hardy gerberas
Even hardy gerberas (such as 'Everlast Series' and 'Garvinea Series') won't cope well in damp soil in winter or in prolonged freezing temperatures. It's best to give them some protection, especially in cooler locations.
- If they are in a container, move it to a sheltered, frost-free spot, protected from excess winter wet. Ideally take them under cover, into a coldframe, greenhouse or porch. If left outside, wrap fleece or reused bubblewrap around the container to help stop the compost freezing. Don't let the compost get .
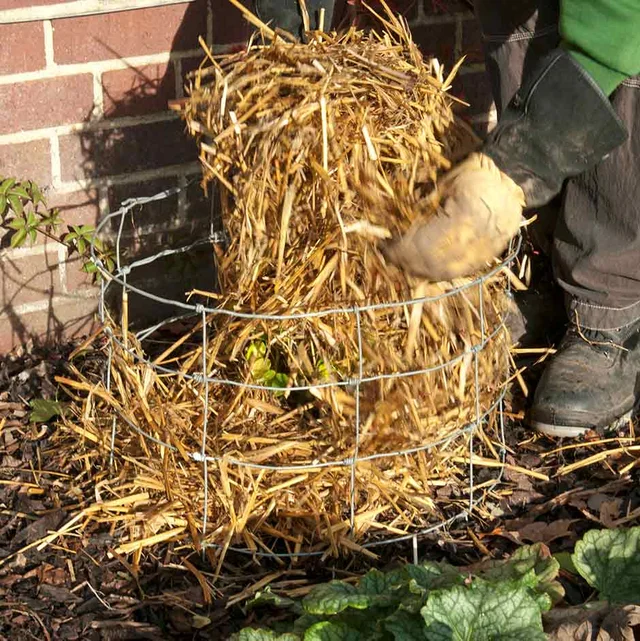
How to use less plastic
For plastic-free insulation, use straw and hessian, or glass cloches, instead of bubblewrap and fleece.
- If they are in the ground, spread a thick layer of insulating mulch, such as well-rotted garden compost, over the root zone. But leave a gap around the crown, to help prevent rotting. You can also cover plants with a cloche, to keep the crown dry.
See our guide to protecting plants with mulch.
Caring for older plants
After several years, gerberas can form large congested clumps and may start to deteriorate. Overcrowded conditions encourage fungal diseases such as grey mould. So it is best to divide them every few years, in early spring, to keep plants vigorous and healthy.
Plant the resulting smaller sections into fresh compost (see Planting, above).
See our guide to dividing perennials.
Pruning and Training
Gerberas need no training or pruning. But you can keep plants healthy and blooming for as long as possible by:
- Deadheading faded flowers to encourage more. Remove the whole flower stem at the base.
- Snipping off any damaged or fading leaves, to deter mould and rot. This also stimulates the plant to produce fresh new leaves.
Propagating
There are three main ways to make new plants. They are fairly straightforward, but you need to be careful not to overwater the young plants. It may take a year or so before your new plants are large enough to flower well.
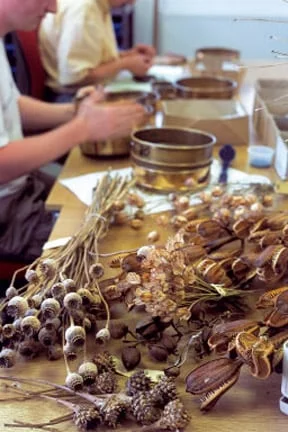
Sow seeds
- Sow in February or March. rates deteriorate with age, so only use fresh seeds.
- If you use seeds collected from a named , the offspring may differ from the parent.
- Add to the peat-free to improve drainage.
- Sow seeds thinly, setting them vertically into the , with the feathered end projecting. They need some light to germinate, so don't bury deeply.
- They need a temperature of 20–25°C (68–75°F) to germinate, so place in a or on a sunny windowsill. Germination usually takes two to three weeks.
- Young gerberas are particularly susceptible to rotting, so water carefully and avoid leaving them in soggy compost.
- The new plants will usually flower four to six months after sowing.
See our guide to sowing seeds.
Divide clumps
In March or April, when you see the first signs of new growth, you can divide large healthy plants. Cut the crown into four or five pieces, each with at least one growth and plenty of roots.
Take basal cuttings
- When new shoots sprout from the crown in spring, cut off a vigorous, robust shoot right at the base, as close to the crown as possible.
- Pot it up into sandy, peat-free compost.
- Place in a propagator until well rooted.
For more on all kinds of propagation techniques, see our guide to propagation.
Problems
Look out for -feeding pests on the foliage, such as whitefly, red spider mites and aphids, especially on plants growing under cover.
Damp conditions and poor can lead to fungal diseases and rot, including botrytis (grey mould), powdery mildew, crown rot and root rot.
To deter these:
- Plant so the crown (the point from which the leaves sprout) is slightly raised above the soil surface, to aid drainage.
- Avoid wetting the foliage and crown when watering.
- With plants in containers, stand the container in a tray of water until the is damp, rather than watering from above.
- Never let containers stand in water for long periods, especially in winter.