Making a new pond
A pond is a brilliant addition to any garden. Here we explain where to site a new pond and the various types to choose from, with step-by-step guides to constructing them.
Quick facts
- Site a new pond in a sunny, level, open area
- Choose either a rigid or flexible liner
- Place sand or pond underfelt in the hole before adding the liner
- Shelved or sloping pond edges allow for a wide range of plants
Jump to
Where to position a new pond
If it’s mainly a wildlife pond, then a quiet spot is best, where it won’t be disturbed too often. But it’s also important that you can see it easily and enjoy the visiting wildlife. For more tips, see our guide to wildlife ponds.
Safety is also a key consideration with a new pond. If young children have access to the garden, then ensure the pond is located out of their reach, unless they are supervised at all times. For added safety, ponds can be fenced off, or metal grids installed just below the surface.
If electricity is needed, for example to power a pond filter or pump, this must be installed by a qualified electrician. See our guide:
Electricity in the garden
Pond size, shape and depth
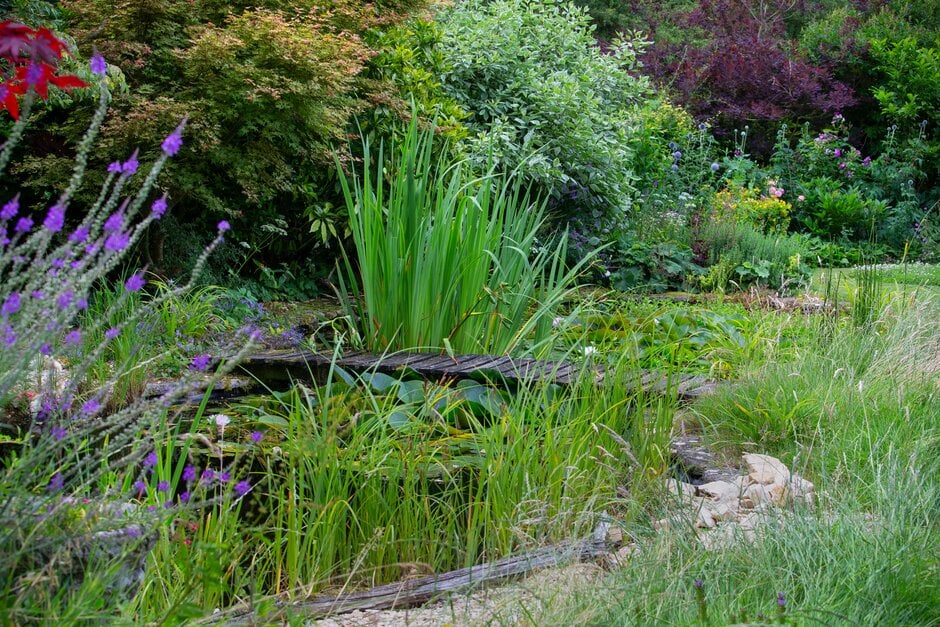
In a formal-style garden, a square, rectangular or circular pond sits comfortably. For less formal settings, an irregular shape looks more natural. Flexible liners (see below) allow maximum freedom of shape and size.
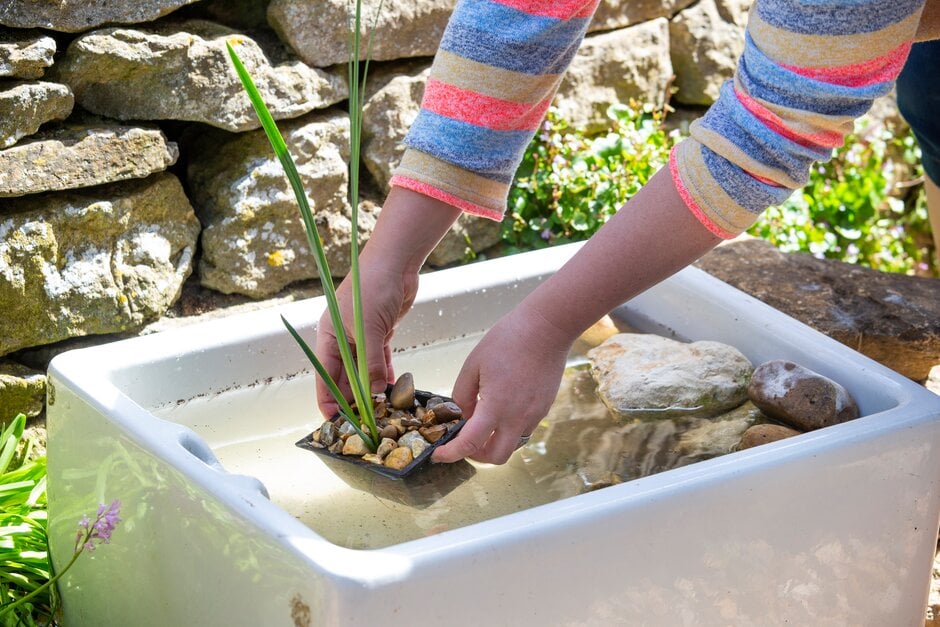
In a small garden, a mini pond in a large tub or upcycled sink is an attractive and easy option – see our step-by-step guide.
Most ponds look best with plants, and shelved edges or different depths let you grow various different types. The water should ideally be at least 75cm (30in) deep, to allow for the widest range of plants.
All ponds should be at least 38cm (15in) deep, otherwise they can overheat easily in summer, leading to algae and deoxygenation, which can harm fish or other pondlife, and the water would be more likely to freeze in winter. If you only have space for a small pond, make sure at least part of it is deep.
A shallow, sloping ‘beach’ of pebbles makes it easier for wildlife to get in and out. Alternatively, a ramp can be installed. All ponds should have slightly sloping sides, at about 20 degrees, to make them less vulnerable to ice pressure in cold winters.
If you want to keep fish in your pond, aim for a surface area of at least 3.5sq m (38sq ft) to ensure the water stays well aerated and clear. Heavily stocked fish ponds usually need a filtration system too – these may have to be located outside the pond, so make sure there is space for this if necessary.
It’s best to fill your new pond with rainwater from a butt, as mains water contains nutrients that can encourage algae. Spring or autumn are good times to make a new pond, when rain tends to be in plentiful supply.
Types of pond liners
The two most popular options are:
-
Pre-formed pond mould – these are usually made of rigid plastic or fibreglass, but they could be as simple as a large plastic tub or other recycled container, such as a butler sink or half barrel. They are usually only suitable for small ponds and are a fixed shape, although various sizes, shapes and depths are available. Fibreglass moulds are very durable, but with plastic versions the exposed edges may become brittle and crack with age. Moulded plastic can’t usually be repaired if it starts to leak, but fibreglass can potentially be patched (kits are available from specialist suppliers). These rigid liners are lightweight, relatively easy to install and can be very budget friendly
-
Butyl rubber and PVC liners – these are flexible and have the advantage of giving you complete control over the size, shape and depth of pond. They are particularly useful for creating a natural look, and are suitable for medium to large ponds. Butyl rubber is the most popular choice, although PVC liners are also available. Butyl is heavier and more expensive than PVC, and more durable, with a lifespan of 25 to 50 years or more. Flexible liners can usually be successfully patched if accidentally pierced – kits can be sourced from specialist suppliers
Other options
-
Concrete liner – this is the most durable of lining materials when well made and is suitable for formal ponds. Construction is usually a job for professionals and can be expensive and time-consuming. The concrete must be treated or allowed to season before you introduce fish or plants. If cracks develop, it can be difficult to repair
-
Clay liner – it’s also possible to line a pond with clay, especially if the site has underlying clay, and it gives the most natural-looking result. However, sourcing sufficiently malleable clay that doesn’t contain sand or stones can be difficult, as can applying and working it until it’s completely free of air pockets and forms a uniformly deep layer (of no less than 15cm/6in). It’s best to employ a skilled professional, especially for larger ponds
Making a pond using a pre-formed mould
-
Level the site, then stand the mould the right way up, supported on bricks
-
Insert long canes vertically into the ground, to mark the outer edge of the mould. Then lay string on the soil round the outside of the canes, to create your cutting line
-
Dig out the soil inside your cutting line down to the depth of the marginal shelf
-
Place the pond mould into the hole and press it down firmly to leave a clear impression of the base in the soil
-
Lift out the mould, then dig out the central, deeper area, allowing about 5cm (2in) extra depth for cushioning material
-
Clear any stones, roots or debris from the hole. Tamp down the soil firmly, then line the hole with pond underlay or a 5cm (2in) layer of damp sand
-
Put the mould in place and check, using a spirit level, that it’s level all the way round. Also ensure it sits firmly on the bedding layer. Insert batons to hold it in place
-
Pour about 10cm (4in) of water into the base of the mould. Then backfill around the sides of the mould with sand, to the same depth as the water, ensuring there are no gaps and that the mould remains absolutely level
- Continue this process of adding water, backfilling and checking the level. Ensure the sand is well rammed, especially beneath the shelf
See our guide to choosing suitable plants for your pond, and for an even simpler pond that isn’t sunken into the ground, see our step-by-step guide to making a mini pond in a pot:
Choosing pond plants

How to make a wildlife container pond
Making a pond using a flexible liner
You are free to choose any shape, size and depth of pond you wish, which is useful if you want an irregular or unusual shape, for a natural look. If you want a formal geometric shape, such as an exact circle or square, it is probably be easier to use a pre-formed mould.
To make a pond using a flexible liner, follow these steps:
-
Mark out your desired shape using rope or a hosepipe. Then cut around this shape with a spade. Position marker pegs at equal intervals around the proposed edge. Set the first peg at the ideal level for the pond edge. Using a spirit level align the remaining pegs
-
Dig out the hole to about 30cm (1ft) deep, with sides that slope outwards by 20 degrees and a level base. Mark a marginal planting shelf about 30cm (1ft) wide, then dig out the central area to the desired depth
-
If you’ll be adding edging stones later, remove sufficient soil to a width of 30cm (1ft) all round the pond, so the stones can be firmly bedded in
-
Lay the pond underfelt next, ensuring the soil is completely covered. If the ground is particularly stony, line the hole with a 2.5cm (1in) layer of damp sand first, then add the underfelt on top
-
Pull the liner over the hole and hold it in position with bricks. Make sure the liner overlaps the pond edge by at least 15cm (6in) all round, so it can be held firmly by paving or tucked under turf
-
Add water gradually to weigh down the liner into the hole, making sure it is as smooth as possible, with a minimum of creasing or wrinkling. To prevent stretching, lift the bricks occasionally to allow the liner to move under the weight of water and mould itself into the contours of the pond. Fold in creases and corners as evenly as possible. Cut off any excess liner, leaving a 15cm (6in) flap all round the edge
- You can then add stones, paving or turf around the edge to hide the liner, and perhaps make a sloping pebble beach to give easy access for wildlife. If you want to hold up plant containers at a higher level, you can use bricks wrapped in polythene or set them on offcuts of butyl liner
For more on making different types of ponds, see our guides:

Rain-fed wildlife-friendly pond step-by-step

How to make a wildlife container pond

Wildlife ponds
For tips on planting up your new pond, see our guides:
Choosing pond plants
Pond plant propagation

Planting up a wildlife pond
Get involved
The Royal Horticultural Society is the UK’s leading gardening charity. We aim to enrich everyone’s life through plants, and make the UK a greener and more beautiful place.