RHS Horticultural Advisor Anne Adam shares tips on growing protein-packed dried beans, which will see you through the winter while saving space in the freezer

 Dried beans were an important crop for our ancestors, whom, without freezers, were reliant on dried food for sustenance in the winter months. Valued for their protein-rich tastiness, dried beans or pulses are still a staple of diets around the globe.
Each year, I like to grow something new or different on my allotment – whether it’s a new cultivar of a vegetable I’ve always grown, or an exotic I’ve never tried. While some are quickly confined to the ‘never grow again list’, a few prove their worth and become regular additions to my plot.
 Prompted by a recent trip to Portugal, where the local market was well stocked with various dried legumes (seeds of bean plants), I decided this year to grow some beans for drying – something I hadn’t done for a few years. With any luck, these stores of dried beans should help my family eat a greater variety of vegetables, filling the so-called ‘hungry gap’ over winter and next spring, when little fresh home-grown produce is available.
Drying beans are convenient and versatile, as you can use them in so many recipes. We enjoy dishes like minestrone, chilli ‘con’ or ‘sin’ carne, and mixed bean salads. One of the big plus points for me is they can be stored for winter use without the need for freezer space, which is always at a premium!
Which beans am I growing for drying this year?
 Runner bean ‘Czar’ – this is a heritage climbing runner bean. You can eat the pods fresh, but I’ll be leaving them on the plant to mature and dry. I will then use them like butter beans.
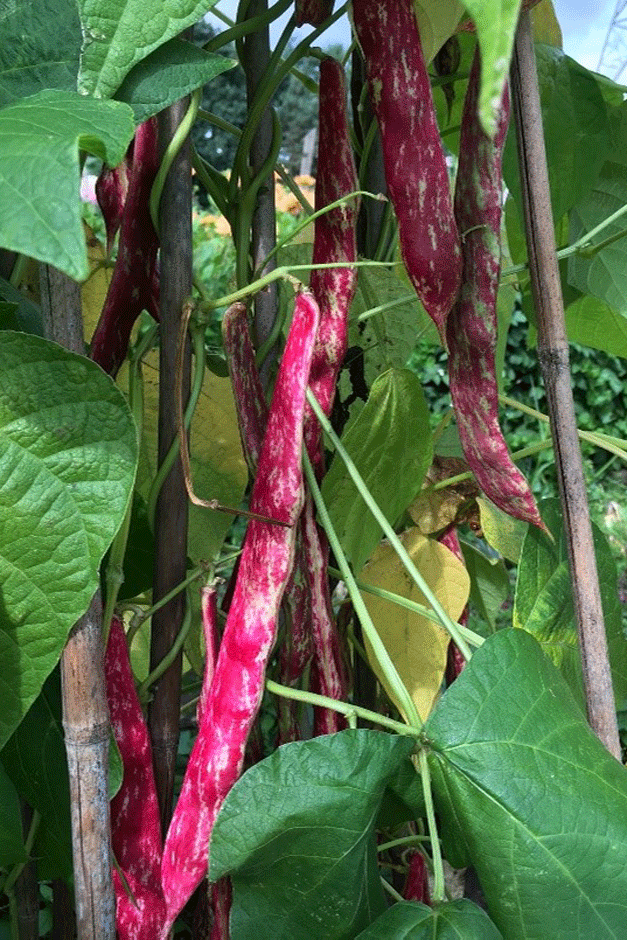
Borlotti bean ‘Borlotto Lingua di Fuoco’ – this French bean of Italian origin is available in both climbing and bush forms (the latter being ideal for windy sites). It has white flowers and attractive mottled magenta pods, which split to reveal dark red, cream-streaked beans.
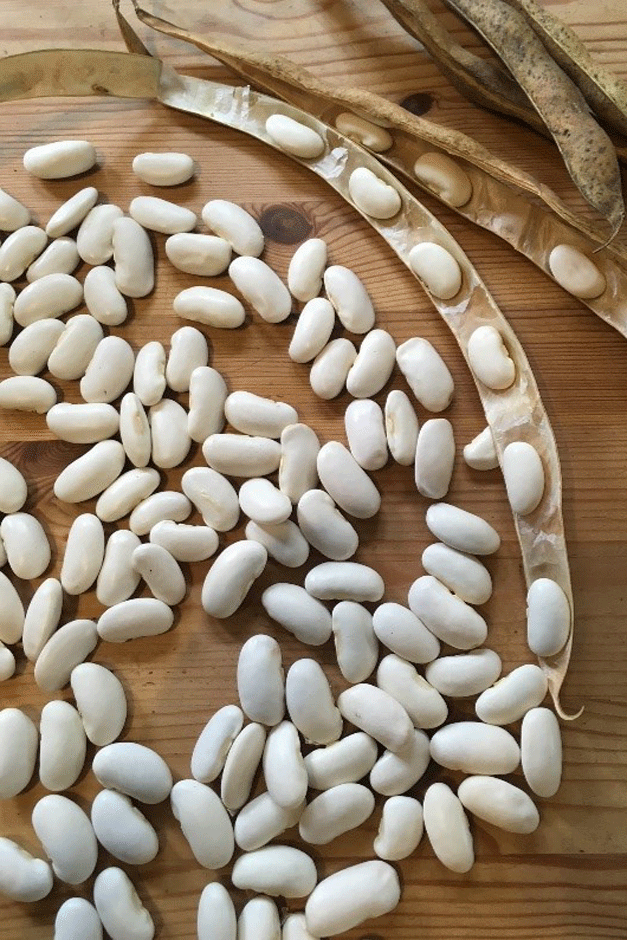
 Cannellini bean – small white kidney beans that are perfect for drying. You can also pick the young tender pods to eat whole. These are generally available in dwarf varieties.
Edamame bean – these plants produce small pods with three or four beans in each. Eat them fresh after cooking, or let them dry to store for winter.
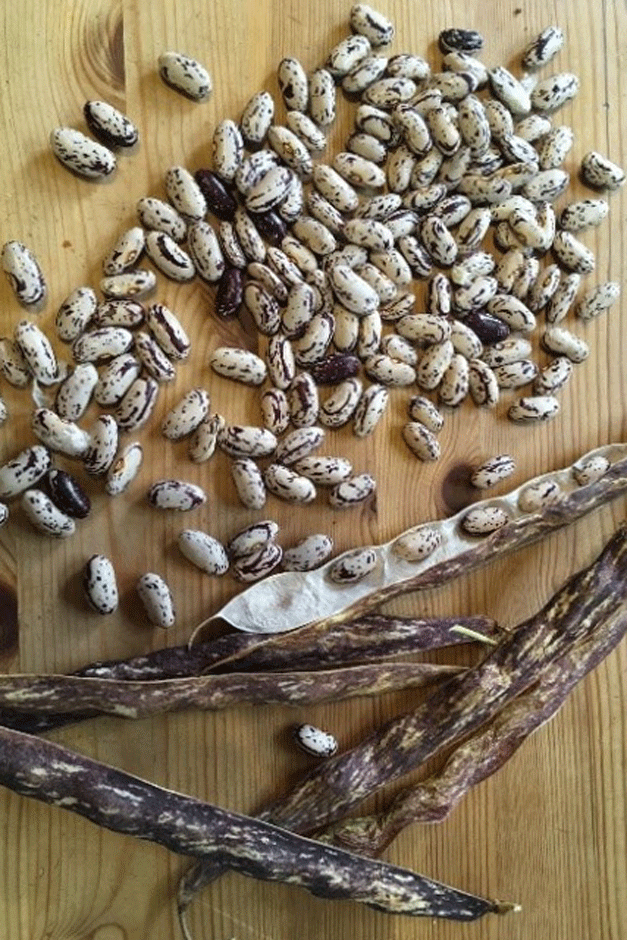
Yin Yang/Calypso beans – this is another bush bean, which I mainly grow because the black and white beans are so striking. I even get visitors marvelling at them through the glass storage jar.
French and runner beans – while I grow these for their crunchy fresh pods, if you leave some to mature on the plant, you have dried beans! In general I prefer to keep picking French and runner beans to keep them cropping fresh pods for longer, and stick to the other varieties for pulse production.
Getting started
I grow drying beans the same way as I would French or runner beans. They need a long growing season for the pods to fully mature, so I sow mine indoors in mid-April and early May so that they’re ready to plant outdoors after the last frost (usually during or just after the RHS Chelsea Flower Show).
I fill deep module trays or individual pots with peat-free compost, and sow the beans about 3-5cm (1-2in) deep. Beans need a temperature of at least 12oc to germinate, so although I keep them in my greenhouse, a sunny windowsill would be just as good.
Before I plant my beans outside, I harden them off by putting them out in the day and bringing them at night. This acclimatises them to outdoor conditions, meaning they’re less likely to go into shock when they finally go out.
In my efforts to garden more sustainably and use less bought-in potting compost, I also sow some beans directly. I wait until the soil warms to around 12°C – this is usually mid-May in my area, but this year the ground has been very wet and cold, so I’m waiting until the end of May or early June to sow the seeds.
Before sowing, I put up wigwams of bamboo canes for the beans to climb. I then sow one or two seeds about 5cm (2in) deep at the base of each bamboo cane. Once they’ve germinated, I remove the weakest seedling, leaving one plant per cane. With dwarf beans I sow them 10cm (4in) apart, in rows 45cm (1.5ft) apart, with a few extra at the end of the rows to fill any gaps.
Harvesting
Unlike fresh beans, beans for drying don’t need to be picked at the perfect stage of development. Simply leave the pods on the plants until they begin to shrivel, become dry and brittle, and you can hear the beans rattling inside. I pick the pods on a fine day so they are as dry as possible. I then remove the beans from the pods, and lay them on a tray in a warm dry place (usually my greenhouse bench). Here they’ll continue to dry out and eventually turn hard. Once fully dry, I store the beans in airtight glass jars.
Because beans are tender plants, be sure to harvest the pods before the first frost. Don’t waste any pods that aren’t quite fully mature - just pick them, shell the beans and freeze them instead. You can use them straight from the freezer in exactly the same way as dried beans.
 Cooking the beans
Usually I soak the beans overnight and cook them the following day. Soaking helps to dissolve the starches that can cause stomach discomfort, and reduces the cooking time. After soaking, I simmer them for 1-2 hours, depending on the bean, until they are tender. I add salt, fresh herbs or garlic to the cooking water for added flavour.
Pick of the crop
 Look for the RHS Award of Garden Merit (AGM) when buying vegetable seed or small plants. You can also download the RHS lists of recommended cultivars.
You may also be interested in...
About the author – Anne Adam
I’m an RHS Horticultural Advisor, answering a huge range of members’ gardening questions. Outside work I can usually be found at my allotment, where I grow fruit, vegetables and flowers, and try to have home-grown produce all year round.

