How to tie-in climbers
Tying-in climbers keeps them well-supported, within bounds and looking attractive. Whether you’re directing the vigorous stems of annual climbers or training a framework of woody branches, this guide covers everything you need to know.
Quick facts
- Tying-in climbers encourages strong, sturdy growth, promotes flowering and keeps plants neat and within bounds
- It's a good idea to check ties regularly, even flexible and biodegradable ones, and loosen them if they become too tight
- Some non-climbing plants also benefit from being tied-in, such as cordon tomatoes, espalier or fan-trained fruit trees, and wall shrubs
Getting started
What you will need to tie-in climbers:
- Garden twine made from natural fibres such as jute, flax, hemp or cotton. Garden twine is likely to last between one and three years, depending on the ply and conditions. It can be composted after use
- Pieces of fabric or tights cut into strips (dark coloured fabric will be less conspicuous) or rubber garden ties for supporting the weight of heavy stems and branches
- A knife or scissors
How to tie-in climbers in nine simple steps
-
Put suitable supports in place
Do this before stems need tying-in and ideally before planting your climber. Depending on the climber and the situation, you could be tying stems onto wires, trellis, bamboo canes or the branches of trees and shrubs. -
Decide what type of tie to use
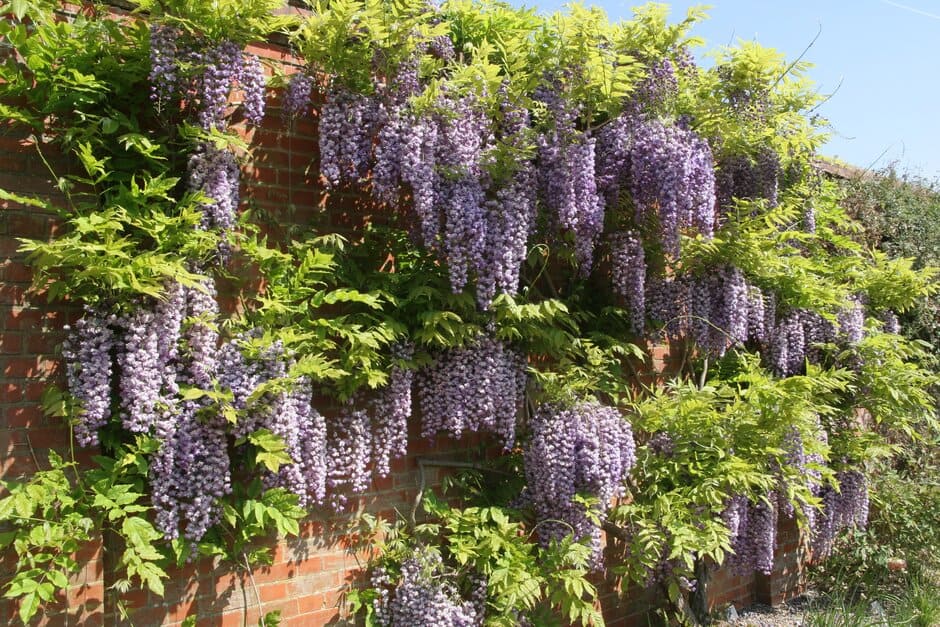
Consider how long you need it to last and how much weight it needs to hold. Garden twine is ideal for annual climbers, such as sweet peas or runner beans. It’s also useful when positioning stems, such as training young rose stems horizontally. Stronger ties are needed to hold heavier woody stems like those of wisteria.
Avoid using wire or metal ties as they can cut into stems as they thicken with age, leading to an unsightly bulge above the tie and a weak point where the stem may break. -
Cut lengths of your chosen ties
Each tie needs to be long enough to comfortably loop around the stem and its support with a little extra space for stems to grow and thicken. -
Use a simple overhand knot for new growth and light, flexible stems
This is created by looping the tie around the stem and its support and tying a double knot.
-
Use a figure of eight knot for heavy stems and windy gardens
Do this by looping your tie around the stem, crossing the two ends and looping it around the support, tying in a double knot. This creates a buffer between the stem and support, preventing damage from rubbing.
-
Space out the stems of newly planted climbers
This will allow them to quickly cover their support. Climbing plants are often sold with all their stems bunched together and tied to a bamboo cane. Untie the stems, space them out and tie them onto your chosen support after planting. If they don’t reach that far, bridge the gap by placing several temporary bamboo canes between the base of the plant and the support and tie stems on to these. -
Position stems where you want them on their support
Space stems evenly to achieve good coverage and make sure they aren’t crossing. Where possible, don’t let the stems of woody climbers grow up between the support and the wall or fence it is mounted on – this prevents them becoming constricted and allows for better air circulation, reducing the chance of fungal diseases. -
Keep ties in place
Position them just above a leaf or side shoot – this stops them slipping down vertical supports. -
Tie-in new growth regularly
This will achieve good coverage over the area you are growing your climber, and prevent soft, new growth being damaged. Lax stems may need tying-in at about 30cm (1ft) intervals to provide sufficient support. Emerging stems are particularly vulnerable to damage, so aim to make the first tie at a height of about 20cm (8in) above ground level. If necessary, add a cane for additional, temporary support until the stem is long enough to reach the lowest level of its permanent one.
New clematis shoots may need tying-in weekly during spring and early summer. Rose stems are flexible when young, so it is worth positioning and tying them in during their first year, before they become woody and inflexible. The young stems of annual climbers may only need tying-in once or twice to get them growing up their support, but wayward stems often need further attention once the plant fills out.
Get involved
The Royal Horticultural Society is the UK’s leading gardening charity. We aim to enrich everyone’s life through plants, and make the UK a greener and more beautiful place.